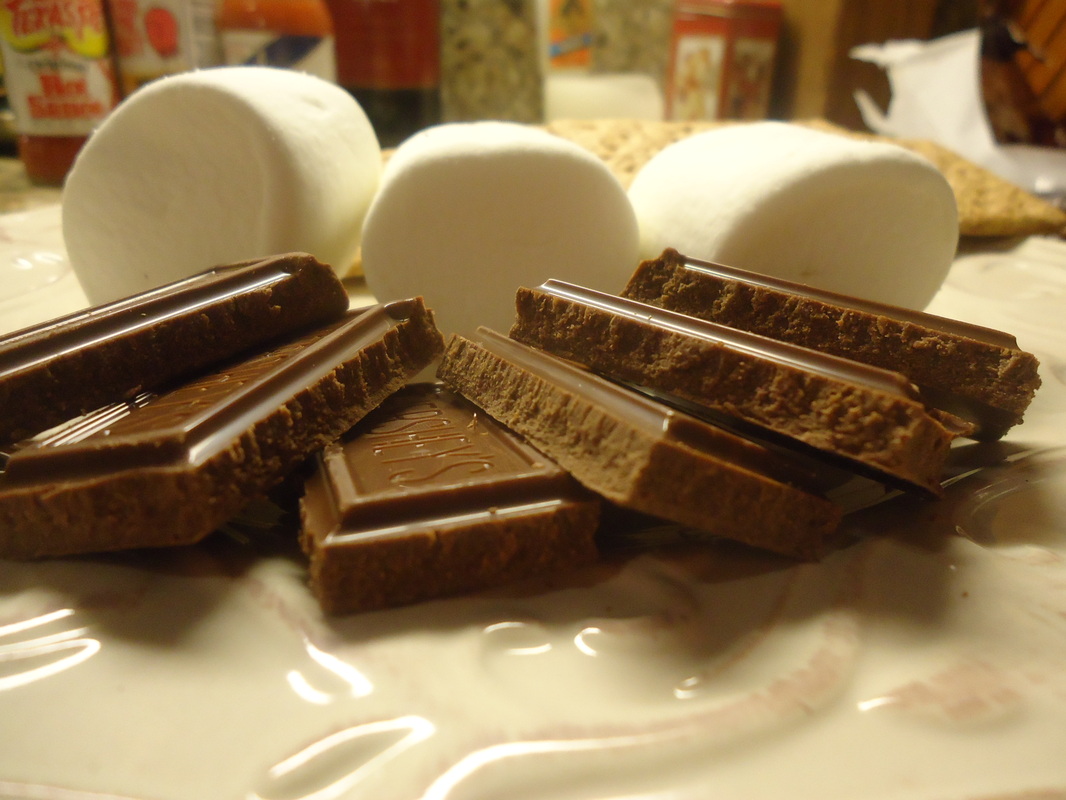
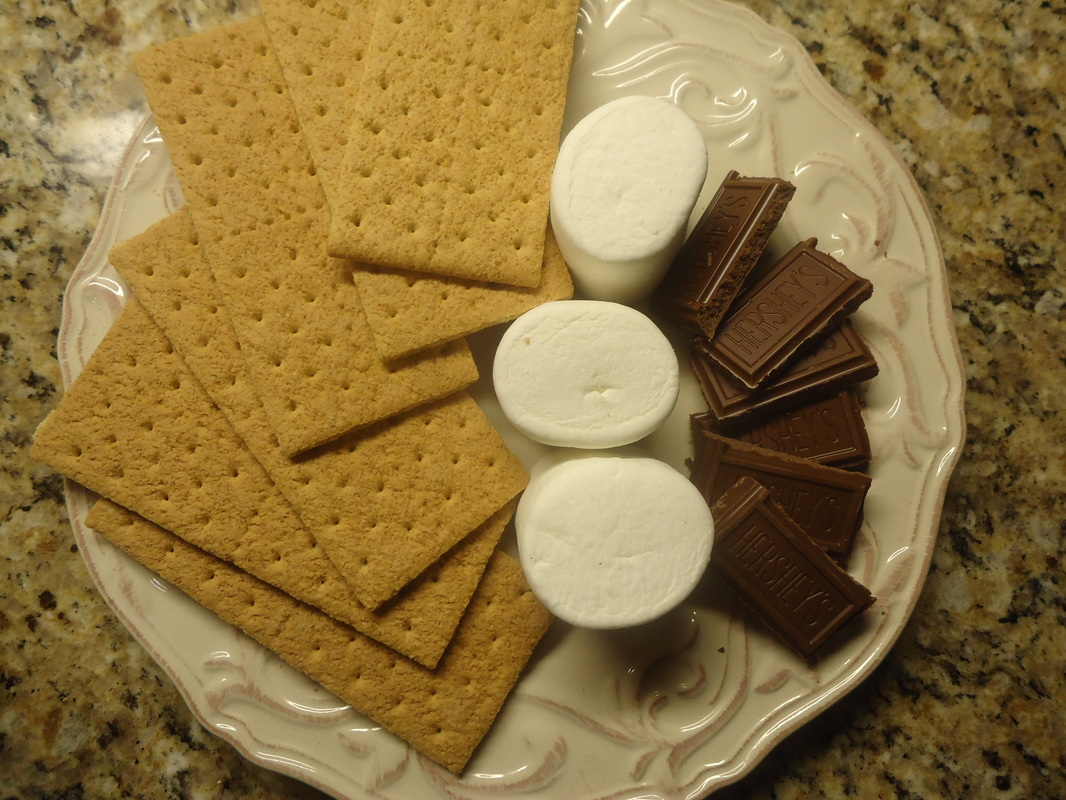
Friday night plus a temperature of 64 degrees in Central Florida, equals sitting around out on our patio, building a fire in the fire pit and, yes, even making s’mores! This is what we did on Friday night. Tori thought with the cooler temperature it would be fun to introduce Connor to s’mores…so that’s exactly what we did.  Tori enjoying her s'mores! It was a beautiful, clear night and since we just bought a brand new fire pit a couple of weeks ago and it hadn’t been used yet, the timing was perfect. 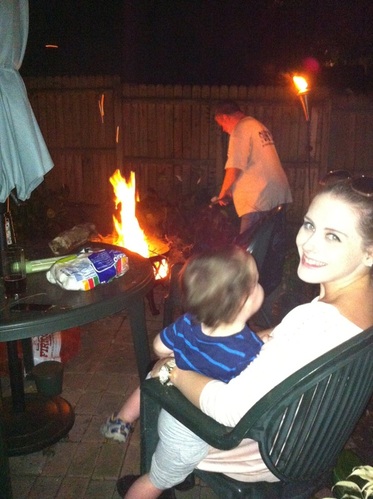 Tori & Connor with Randy tending to the fire We had those really big marshmallows, some graham crackers and a huge Hershey’s chocolate bar that we broke into small pieces for our s’mores. Our biggest challenge of the night wasn’t keeping Connor away from the fire as we had feared…it was finding some wire coat hangers to use for roasting our marshmallows!
I went on a search for wire hangers in the laundry room, and discovered that we do still have a few of the wire relics hanging around. I really don’t care for wire hangers, so I’ve been phasing them out for years, but for some reason, I must have hung on to a few of them for their most useful purpose of all!
Although Randy and I didn’t grow up together, we were both raised in Central Florida. We both have many fond memories from our childhoods of times spent around a campfire or a bonfire roasting marshmallows and making s’mores…we also carried on that tradition with our children as they were growing up. I remember a few times we would build a fire in our fireplace so the kids could roast marshmallows! Yes, we have a fireplace in our home…that was actually a requirement for us before we would even consider a home to purchase. We live in Central Florida, we don’t have a swimming pool, but we do have a fireplace. We have our priorities.
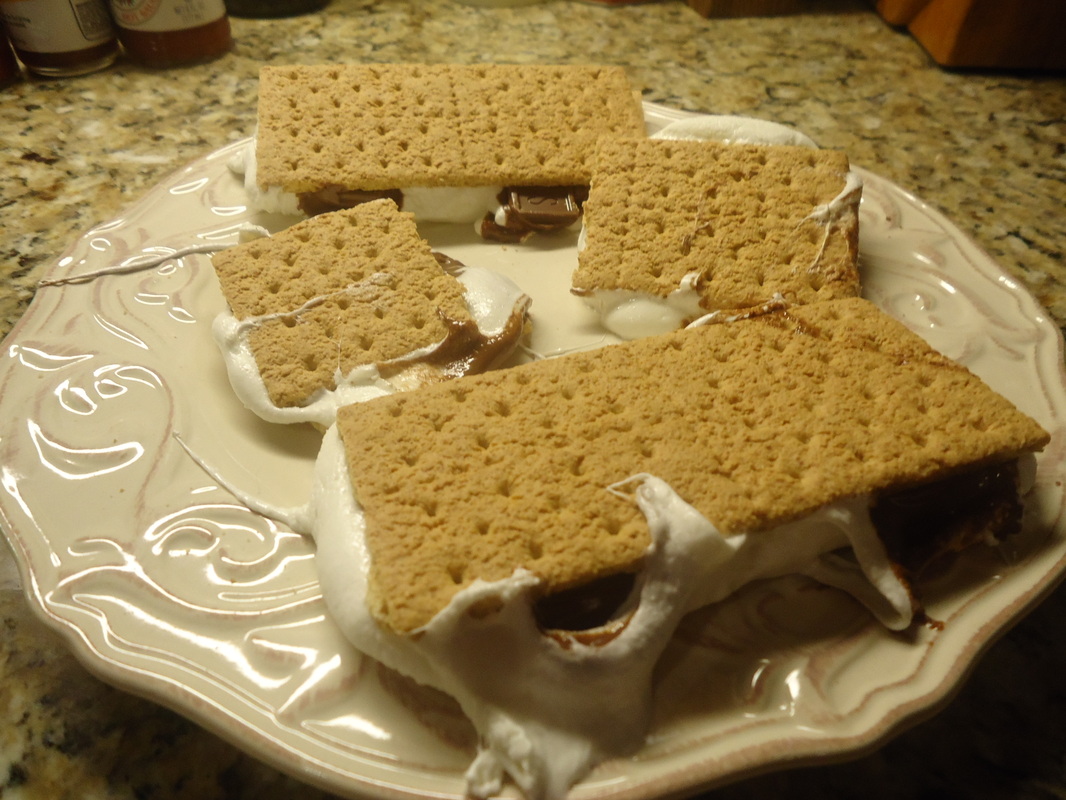
 Randy with his s'mores So…it is time to start teaching the next generation of our grandchildren the joys and pleasures of roasting marshmallows and making and eating s’mores. Connor loved it! Actually, we all did…it is something we will do more than once over the next few months when the weather is cool enough for us to sit outside and enjoy a fire. 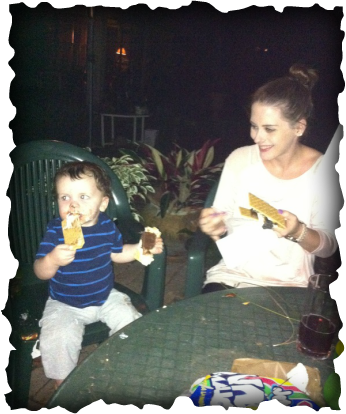 Connor eating his first s'mores! Ok…so you’re probably wondering about the after effects of the s’mores, aren’t you? With a toddler…well, shall I say that sticky was the word of the night? Oh. My. Goodness. What a sticky mess all of our hands were! But Connor took the cake, as the saying goes. He has chocolate and marshmallow stickiness on his face from on his little nose to down under his chin – sort of like a really gooey, sticky beard! His hands and forearms were similarly gooey. Ditto for the arms of the chair he was sitting in.
After he had finished his s’mores, he got down from his chair and toddled off into the yard to play with his little lawn mower. Tori decided the best way to clean him up was a bath, so she took him inside and he left his mower in the middle of the path leading to the house from the patio. When Randy and I were ready to go inside a little while later, I picked up the mower to move it and got a handful of not only a transfer of Connor’s s’mores, but also whatever yard debris had transferred from what he had touched! Yuck!
Regardless of the residual mess and stickiness, the night was a huge success! I hope you all will be able to sit outside by your fire pits and reminisce about your childhood adventures with roasting marshmallows or hotdogs over an open fire…Bon appetite!
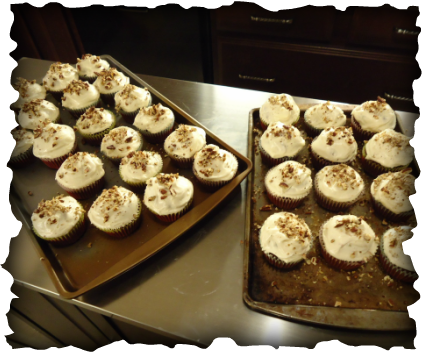
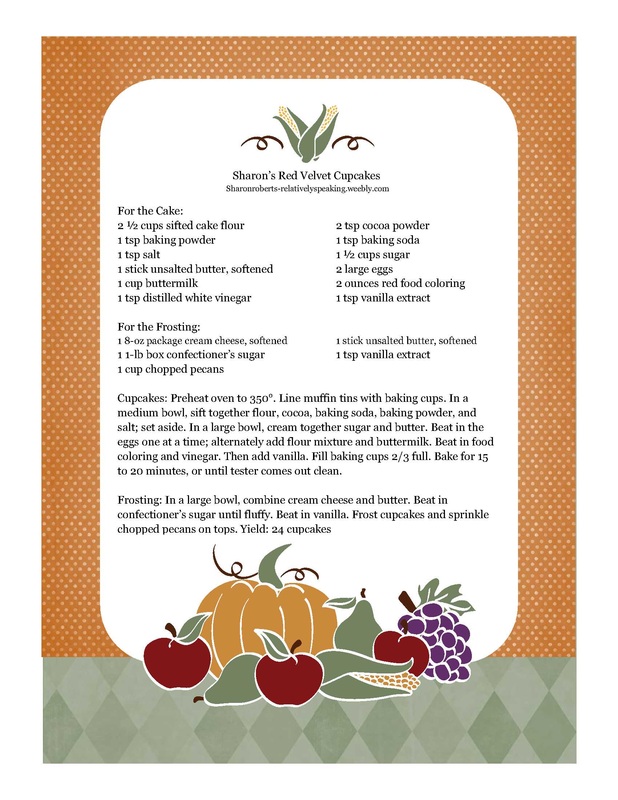
It’s Saturday and this is the one day of the week these days that I am able to fit in some cooking and baking. For those of you neophytes who have not had the good fortune to have tried red velvet cake, here is the ultimate in red velvet cake heaven! My daughter, Tori, and my son’s fiancée, Megan, both love red velvet cake but they have both told me that since eating my red velvet cake, they won’t eat anyone else’s. So today I decided to compare my recipe with another recipe I found on another food blogger’s site –http://www.thatskinnychickcanbake.com, who is Liz Berg. Her cake looks delicious and her icing sounds heavenly – white chocolate cream cheese icing; I use plain old cream cheese icing on mine…so let’s see what happened in Sharon’s kitchen today.
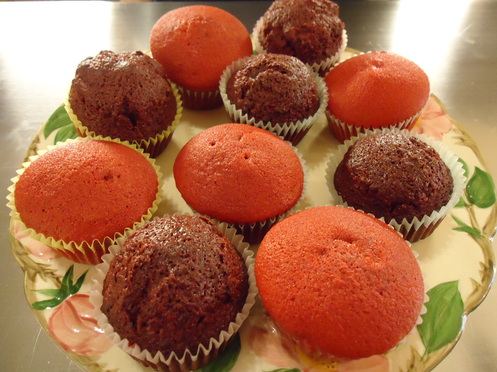 Sharon's are the lighter ones. Liz's are the darker ones. _I decided to make cupcakes for my comparison today, so I made my recipe first and after the cupcakes cooled completely, I frosted them with the cream cheese frosting I always use. Then I made Liz’s recipe. The first thing I noticed about Liz’s, as compared to mine, was that the batter was a lot wetter and soupier than mine. To make up for this extra wetness, Liz’s baked for about 40 minutes, while my cupcakes baked for about 20 minutes. I had my doubts at first, but hers did bake through and tested done just like mine. They also smelled fabulous while baking! After the cupcakes cooled, I frosted them with the heavenly sounding white chocolate cream cheese frosting from her recipe.
Then the taste test began – don’t you know this was the best part??? I think we all had a religious experience while tasting these two delectable recipes! I only wish that Megan could have been here for the tasting as well…next time, Meggie!
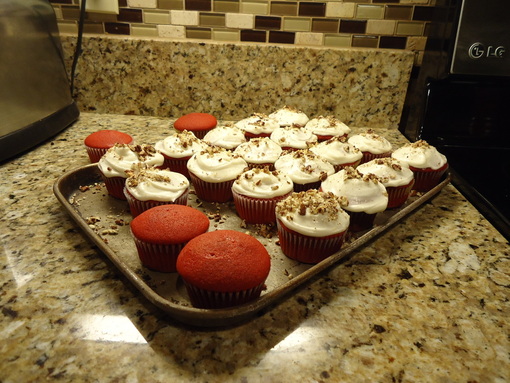 Almost ready for the taste test! _Now on to the results – after baking, cooling, and frosting both batches of red velvet cupcakes and then tasting them, Tori and Randy preferred my recipe over Liz’s. That being said, however, they loved Liz’s white chocolate cream cheese icing. Her red velvet recipe is a lot more chocolatey than mine…you can see this in the color of the finished cupcakes. They were delicious, but the preference here at my house were the ones I’ve been making for years. I will say that no one was opposed to me trying a new recipe…bring it on, they said!
So, for now, I will stick to my tried and true red velvet cake/cupcake recipe, but on occasion I may take it up a notch with Liz’s scrumptious white chocolate cream cheese frosting. Yum…we can hardly wait until the next batch is baked! Till next time…bon appetite!
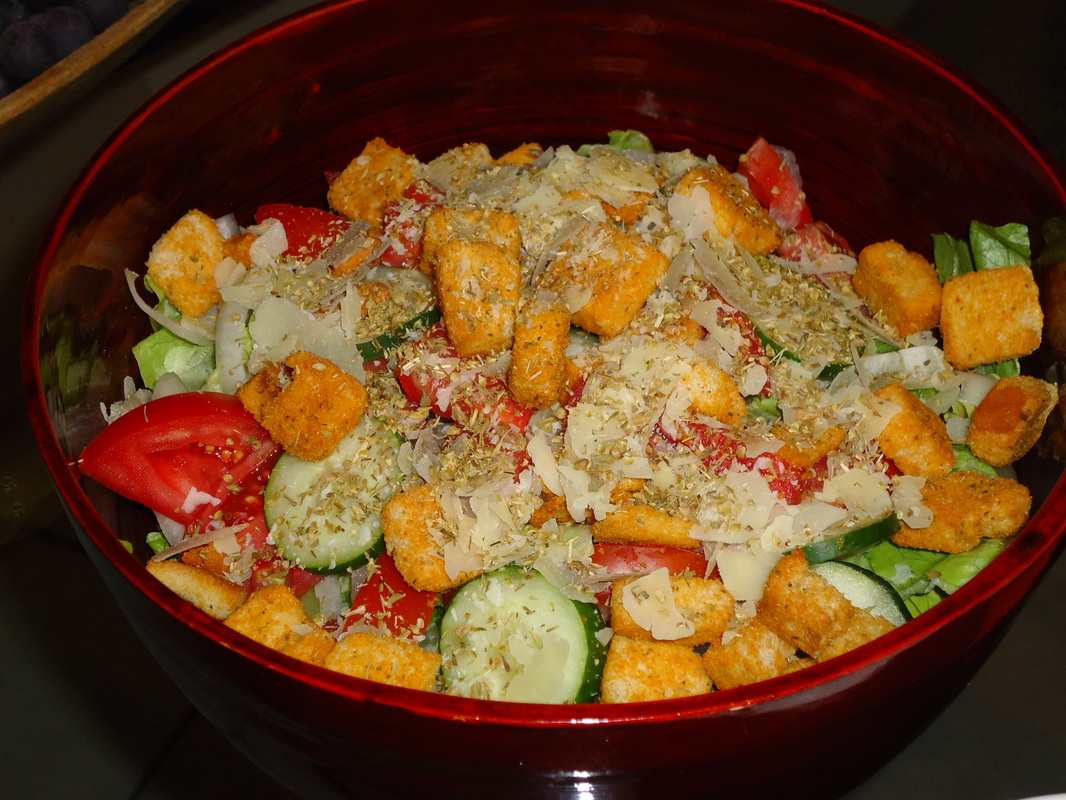
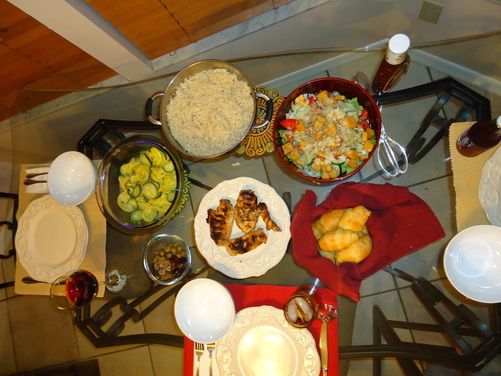
I don’t know about y’all, but I have been so busy lately that I’m finding it difficult to find the time to cook many meals for my family. We prefer to eat at home with a meal cooked by either me or my daughter than to eat out. That being said, with the hectic schedule of late, my beautiful and sweet daughter Tori cooked dinner for us tonight. Here’s what she fixed: A beautiful tossed salad with romaine lettuce, sliced cucumbers, tomatoes, onions, Parmesan cheese, oregano, seasoned croutons, with an olive medley on the side, and a sun-dried tomato vinaigrette dressing.
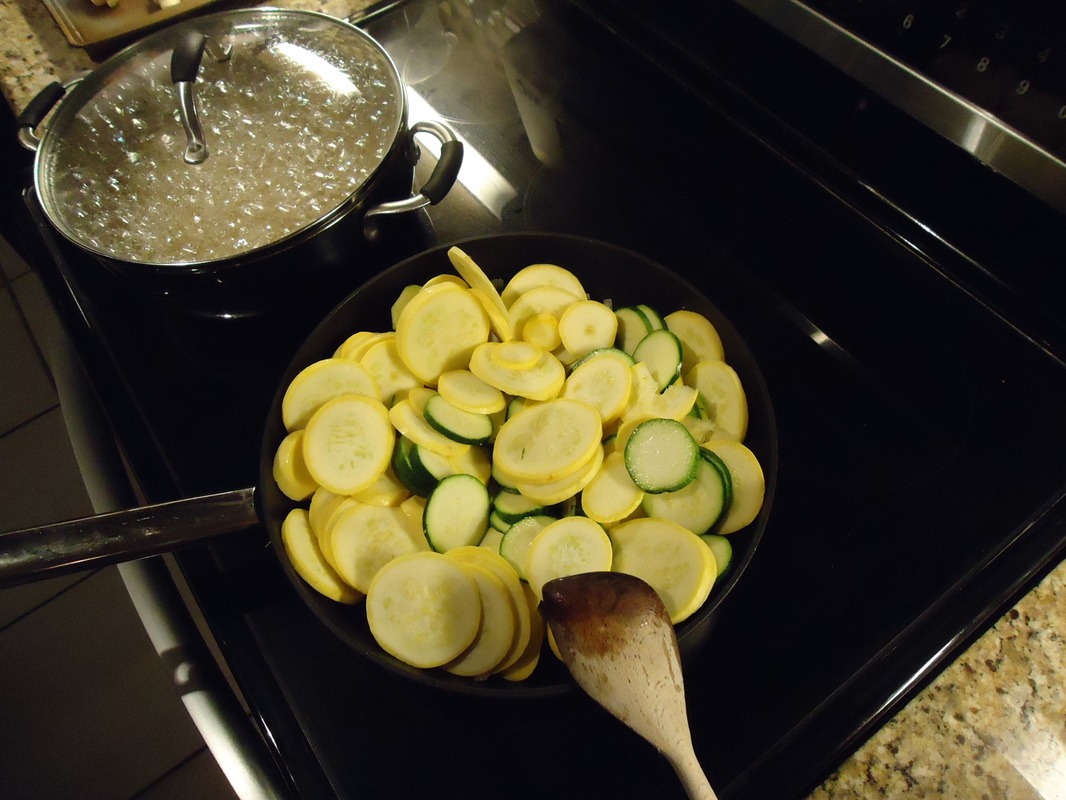
A vegetable medley of yellow summer squash and zucchini sauteed with butter and onions, salt and pepper.
Grilled chicken seasoned with a rub of oregano, garlic, and onion; and Pillsbury Crescent Rolls. She served good old Southern sweet tea, water, and a nice pinot noir wine (for me!) with the meal. I can attest to the fact that not only does it look delicious, but it also tasted as good, or better, than it looked!
What a nice thing to come home to, don’t you think? Tori takes good care of her mom and dad and she is also very considerate, taking the cooking off of me tonight after I worked all day, then had a lot of reading and writing (this blog!) to do this evening. She did all this and took care of her little boy, Connor all day…and cleaned my kitchen! Bon Appétit!
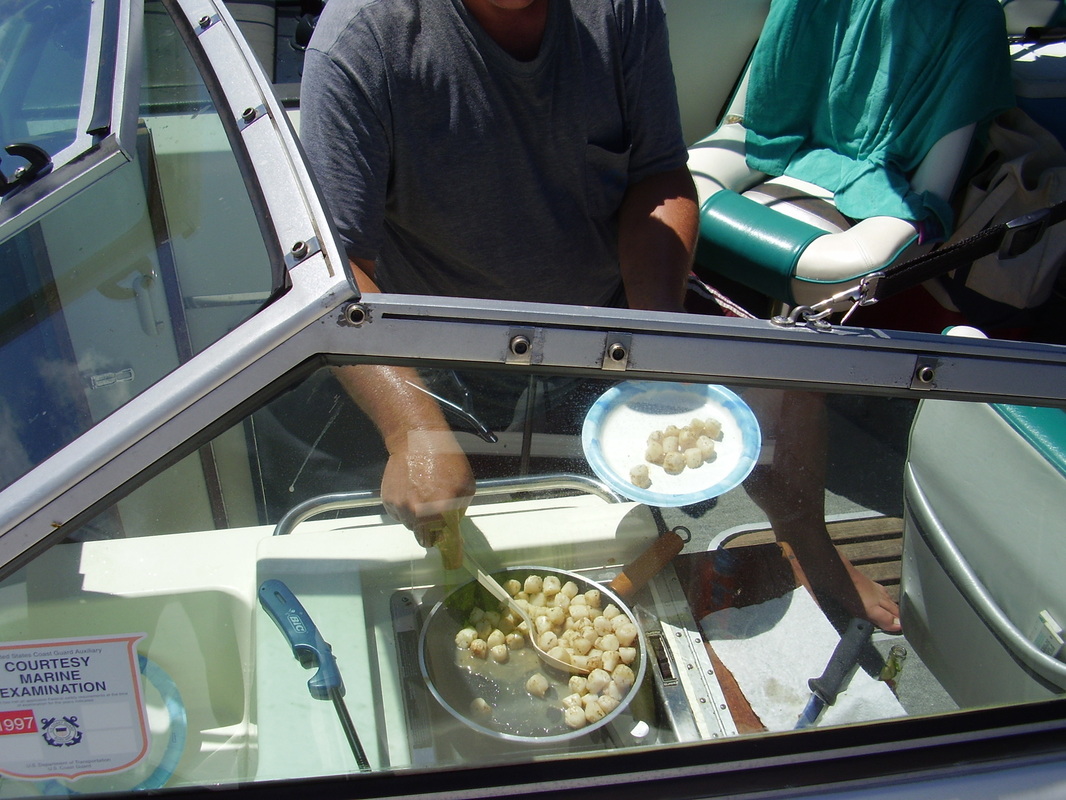
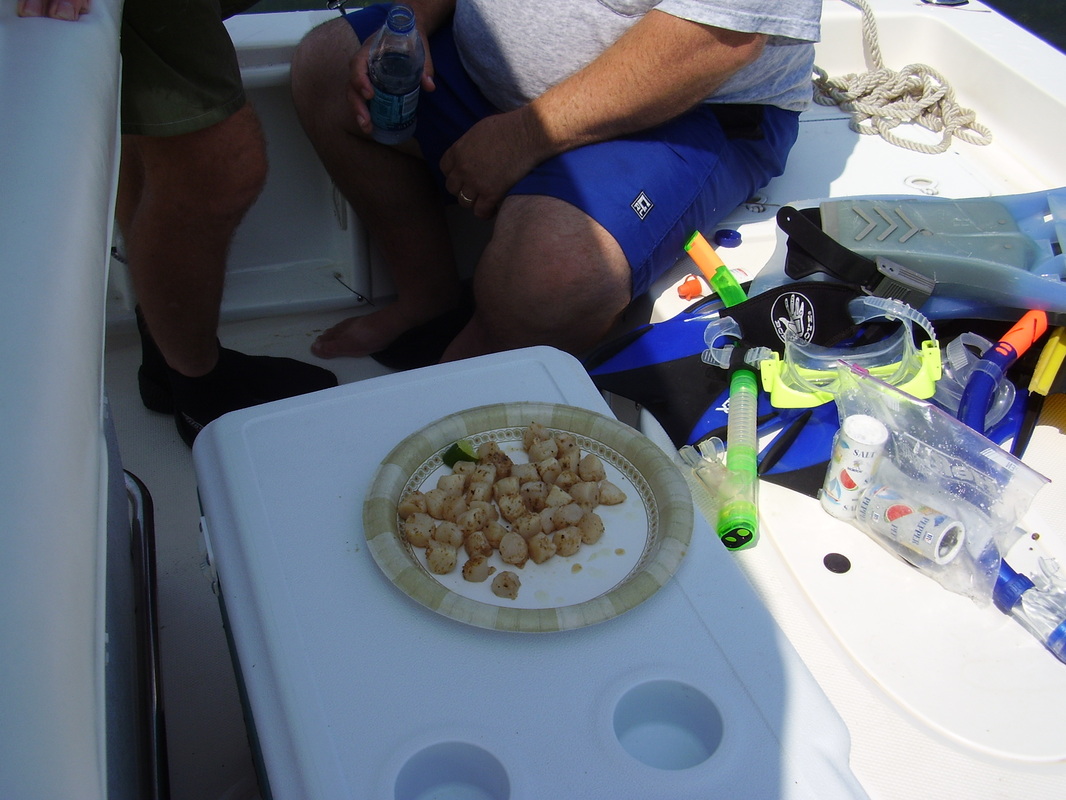
I know last week I talked about wine pairings and it was probably a little boring to those of you who are not wine aficionados…so today I will discuss those lovely jewels from the sea – scallops. 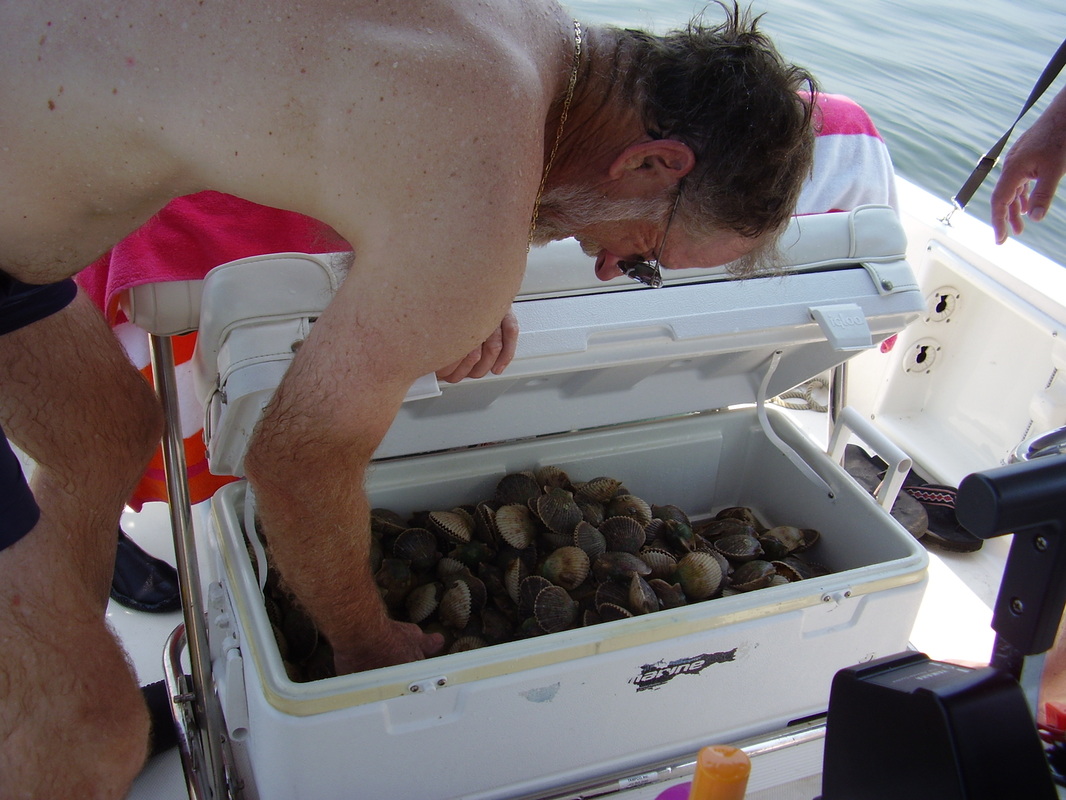 Our friend John with the scallops we caught My husband Randy & I and sometimes our daughter Tori, love to go over to Homosassa Springs on the west coast of Florida to go scalloping with a bunch of friends out in the Gulf of Mexico. Sadly, we haven’t been able to go for the past couple of years for one reason or another, but it is definitely on the list of things to do before too long. Well, we have to wait until summer when they are in season, but it will be here before we know it. The scallops we harvest from the gulf are closer in to shore as we snorkel to get them. These are little scallops and you need about four to six of these little ones to equal the size of a deep sea scallop. I typically sauté these small gulf scallops with a little herb butter, chopped red onions, and fresh spinach until it is wilted, and serve them over linguine. This is very simple, quick and oh, so delicious! 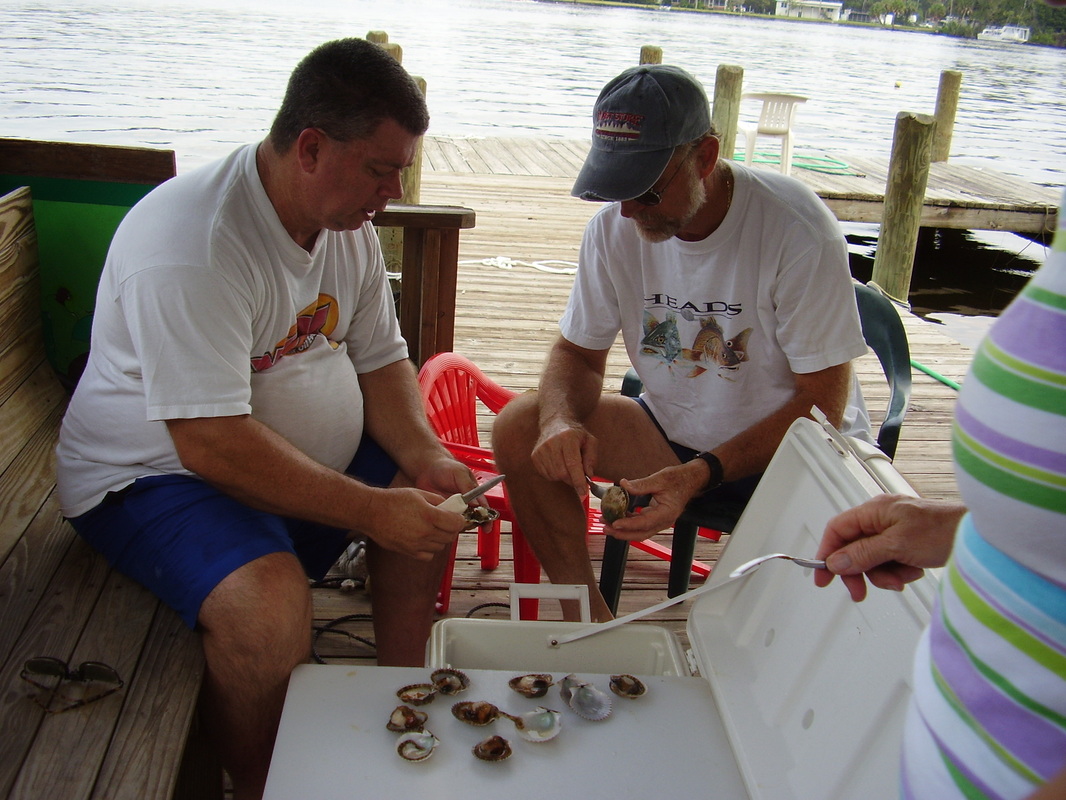 Randy and John cleaning scallops 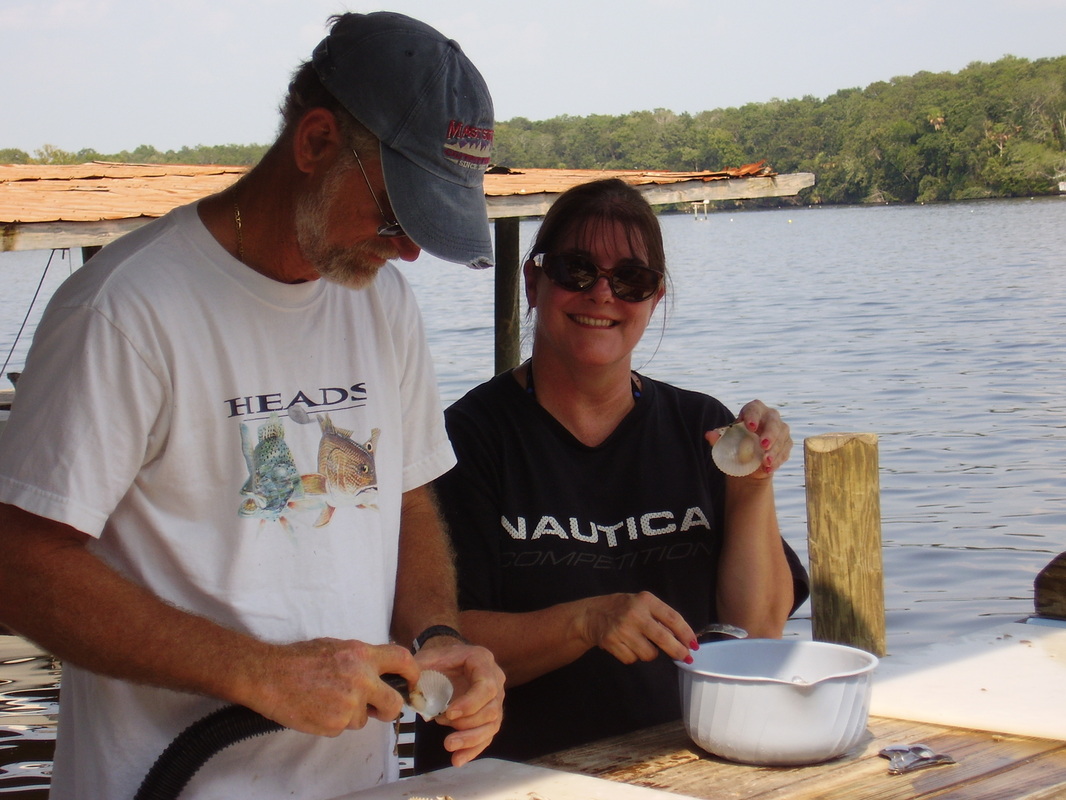 John and me cleaning scallops 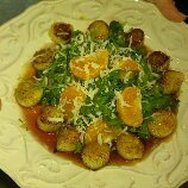 Seared scallops with arugula Seared scallops with arugula If you aren’t able to go scalloping yourself, or if you prefer the larger deep sea scallops, then you’ll need to buy them from your local seafood market or grocery store seafood department. I just have to say here, however, that you should be sure you are actually buying scallops by asking your market for the scallops with a piece of the mussel that attaches the scallop to their shell still attached. Don’t worry, the muscle is easy to pull off, but this ensures that you are actually buying scallops and not shark or ray wing – sadly, scallops are easily pirated and copied, and many people buy other meat at scallop prices when they think they are buying scallops, so buyer beware, matey! Also, if buying frozen scallops, be sure to read the label and never buy scallops if they are from China or Viet Nam…these countries are known for using other types meats and selling them as scallops.
Ok…enough of all that…on with the recipes – as a side note, I am having some minor technical difficulties this week, so I will have to post the recipes a little later…I promise they will be here soon, so please stop back in! I will post the recipes for herb butter and a yummy one for seared scallops with arugula salad and pomegranate gastrique (pictured, left)…trust me, they are worth the wait!
Scallops are especially good when paired with a beautiful, buttery chardonnay…enjoy, and Bon Appetit!
 If you are like me, wine is your beverage of choice with meals. I think a delicious and perfectly prepared meal is elevated to even greater heights with a perfect wine pairing. But do you sometimes wonder how to pair wines with foods? I sometimes do, so perhaps we can learn this together . According to Wine Spectator magazine, there are three important rules for wine and food pairings: - Drink and Eat What You Like – you should always choose a wine that you would drink by itself when pairing with food.
- Look for Balance – balance between the weight, or richness, of both the food you are eating and the wine you are drinking goes a long way to ensure that you enjoy the food and wine together. You don’t want to overwhelm the food with your wine choice and neither do you want the food to overwhelm the wine you are drinking. For food, you can determine weight by the fat – both what is in the food and what is in the cooking method or the sauce – and from wine, you can determine weight by the color, grape variety and alcohol level along with the winemaking techniques and climate of the region.
- Match the Wine to the Most Prominent Element in the Dish – this will help to fine-tune wine and food pairings. Usually the dominant character or element in the dish is the sauce, the seasonings, or the cooking method rather than the main ingredient.
The main take-away from this is that no matter what wine you pair with what dish, if you find the wine to be too heavy, you can always sip some water after sipping your wine before taking another bite of your food in order to prevent the wine from overpowering your dish. You can also take a bite of bread after your wine and before your next bite of food for the same result. If your food is heavier than your wine, again, you should drink either a sip of water or take a bite of bread before eating another bite of food or drinking another sip of wine. If you really want more specifics, take a look at the wine pairing chart below, do a little online research, and this should help in your choices. One of my favorite pairings is a nice Pinot Grigio with a sharp cheddar on an artisan herb cracker…talk about a little slice of heaven! Perfect! Cheers, and Bon Appétit!!!
 | wine__food_pairing_chart.pdf | | File Size: | 61 kb | | File Type: | pdf |
Download File
|
 RSS Feed